Image Map
Showing posts with label Layout. Show all posts

Kristopher Chan & Serena Tan Wedding

Good day to all! Whoa, I can't remember how long it has been since I last did a customised wedding layout! Thanks to Gracia for this opportunity! Had lotsa fun playing with my all time favourite Crate Paper collections! Hope you like them as much as I did!
 photo IMG_4683_zpsdnnuf8hv.jpg
Gracia requested to have this scrap lifted from my previous layout and love how it's similar to it, but also very different!:D photo IMG_4687_zpsewrvudan.jpg
 photo IMG_4688_zpskgs54jph.jpg
 photo IMG_4689_zpsj24qpo0i.jpg
And the budget allows for a second layout so this is the promise layout!:D Wishing the both of them a blessed marriage!
 photo IMG_4680_zps1ky8hoeu.jpg
Thanks so much for dropping by! Till my next update, take care and God Bless!:D
 photo simply-sig_zpscc0a663a.jpg
 photo fb_zpsdef78796.jpg    photo insta_zps15a36000.jpg    photo pinterest_zpsa4f864e4.jpg    photo mail_zps2667dbe9.jpg

Locker Room: You are dearly missed, Australia!

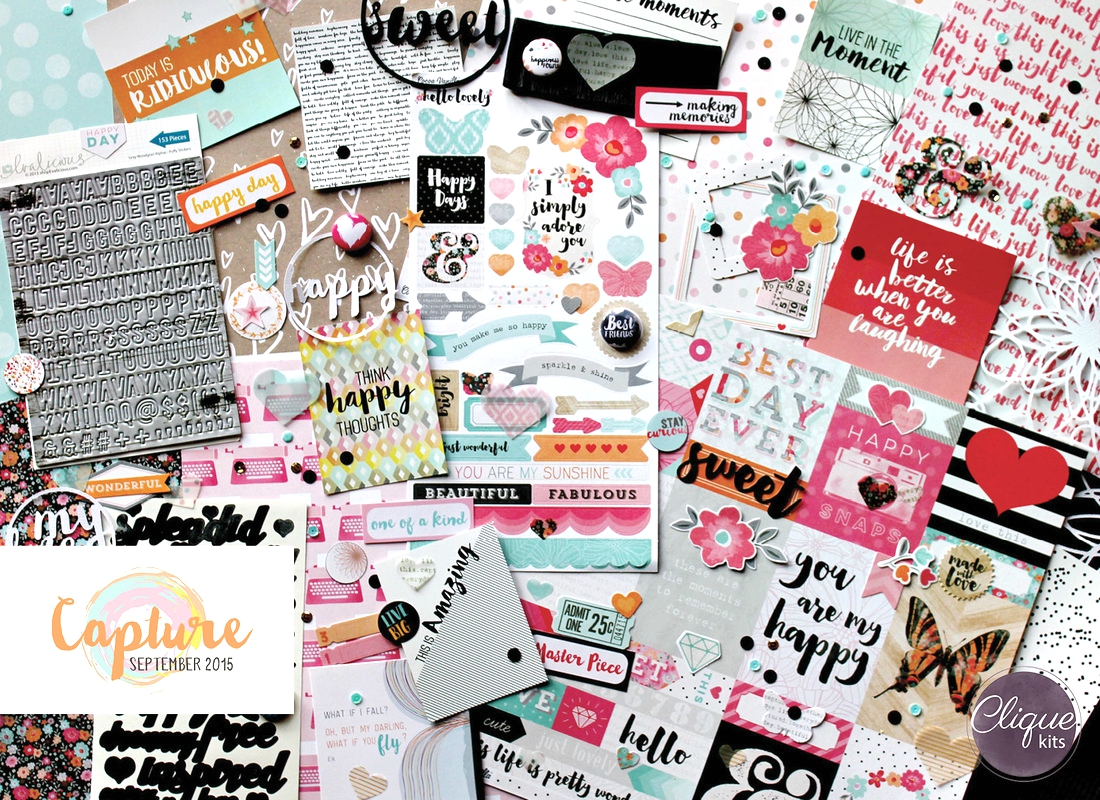
Hello! Cassandra here and hope your week has been great! I am back to share another layout with the September Capture kit! Love every bit of it!:D
 photo IMG_4673_zpscnpzn8xp.jpg
To create this layout, I first chose a patterned paper as the background paper then layered it with a 11.5"x11.5" white card stock. Then I splattered red ink from Maya Road randomly around the card stock.
 photo IMG_4670_zpsoplsvpu7.jpg
Next, I added a few vellum hearts from the Cocoa Vanilla Hello Lovely die cuts pack so that it won't appear too plain! photo IMG_4671_zpscvgg41h8.jpg

Then the rest would be layering it bit by bit. I like to first arrange everything so that I can get an overview of my end product and snap a photo so I know roughly where to put them. Though tedious, this has proven to help me make all my layouts more cohesive.
 photo IMG_4673_zpscnpzn8xp.jpg

 All materials can be found in the September Capture Kit:
Thanks so much for dropping by and hope some of the tips help! We would really love to see your creations! Please hashtag cliquekits on Instagram or tag us on Facebook! Till my next update, take care and God Bless!
 photo simply-sig_zpscc0a663a.jpg
 photo fb_zpsdef78796.jpg    photo insta_zps15a36000.jpg    photo pinterest_zpsa4f864e4.jpg    photo mail_zps2667dbe9.jpg

Geek Lab: Being Me.

Good day to all! I have heard from quite a few of my friends recently asking me what's the best way to add text into my photos or edit them, so I thought I would share some tips! Basically, I am almost a computer/IT idiot that's why Photoshop is too difficult for me (though I know everything can be done through it). I, however, edit almost all my photos through PicMonkey because it's FREE!
 photo Being Me_zpsiwdluodt.jpg
Here's how: Click on the link and it will direct you to the page as shown below.

Then, open a file and upload it. You may crop it to Instagram square sizes (though we finally no longer need to) or any dimension you want. I like to play around with the exposure to add brightness to the photo, sharpen it a little and even adjust the temperature of the photo (warm or colder).
Then to add text to your photo, simply click on add text. The best part is that even your own collection of fonts may be found under the "Yours" section. Do note that those with a crown sign beside it requires extra charges.
 After playing around with the text, here's how it looks like:
Then click save. I like to save the photo quality as sean but if you are concern about the photo sizes, then there are 3 options to choose from.
Then finally, have it printed out and here's my layout with the hello lovely collection!:D
 photo Being Me_zpsiwdluodt.jpg
Supplies used: August Capture Kit
Thanks so much for dropping by and hope you have enjoyed my project! We would really love to see your creations! Please hashtag cliquekits on Instagram or tag us on Facebook! Please also note that this is not a sponsored post or any sorts! It's just that PicMonkey is working best for my scrapbook needs so thought of sharing!:D

Till my next update, take care and God Bless!

 photo simply-sig_zpscc0a663a.jpg
 photo fb_zpsdef78796.jpg    photo insta_zps15a36000.jpg    photo pinterest_zpsa4f864e4.jpg    photo mail_zps2667dbe9.jpg

Locker Room: Great Ocean Road Trip

Heyyie good day to all!:D I am up on Clique Kits blog today to share a layout I created using the September's Capture Kit! I absolutely love this hello lovely collection from Cocoa Vanilla! The colors and patterns are bright, cute and fun to play with:) 

 photo IMG_4650_zpsugyjc8vi.jpg

Here's sharing a few tips on how I create this layout:

I like using patterned papers as the border and a white card stock in the middle so it won't appear so clustered and draws attention to the middle. In choosing which patterned paper as the base, I like to first decide on the photos I am using. A tip that won't go wrong is to use colors that match the colors in your photos. For instance, the 3 photos I have are mostly in shades of green and blue. Comparing the first and second layout, the blue in the second layout feels more cohesive compared to the first. 
 photo IMG_4646_zps3iwl3kqb.jpg
 photo IMG_4647_zpsnfgtnefc.jpg
Secondly, since it's a beach sort of theme, I chose a brown patterned paper to match my layout and split it into halves at 6" and did sort of a arrow pattern so the attention will be drawn to the middle photos.
 photo IMG_4649_zpskkhjcvih.jpg
Then the rest would be adding details and foam dots for more dimension.
 photo IMG_4652_zpsexugopgk.jpg
 photo IMG_4654_zpsz0u55kon.jpg

 photo IMG_4650_zpsugyjc8vi.jpg
All materials can be found in the September Capture Kit:

Thanks so much for dropping by and hope some of the tips help! We would really love to see your creations! Please hashtag cliquekits on Instagram or tag us on Facebook! Till my next update, take care and God Bless!
 photo simply-sig_zpscc0a663a.jpg
 photo fb_zpsdef78796.jpg    photo insta_zps15a36000.jpg    photo pinterest_zpsa4f864e4.jpg    photo mail_zps2667dbe9.jpg