Heyyie good day to all!:D I am up on Clique Kits blog today to share a layout I created using the September's Capture Kit! I absolutely love this hello lovely collection from Cocoa Vanilla! The colors and patterns are bright, cute and fun to play with:)
Here's sharing a few tips on how I create this layout:
I like using patterned papers as the border and a white card stock in the middle so it won't appear so clustered and draws attention to the middle. In choosing which patterned paper as the base, I like to first decide on the photos I am using. A tip that won't go wrong is to use colors that match the colors in your photos. For instance, the 3 photos I have are mostly in shades of green and blue. Comparing the first and second layout, the blue in the second layout feels more cohesive compared to the first.
Secondly, since it's a beach sort of theme, I chose a brown patterned paper to match my layout and split it into halves at 6" and did sort of a arrow pattern so the attention will be drawn to the middle photos.
Then the rest would be adding details and foam dots for more dimension.
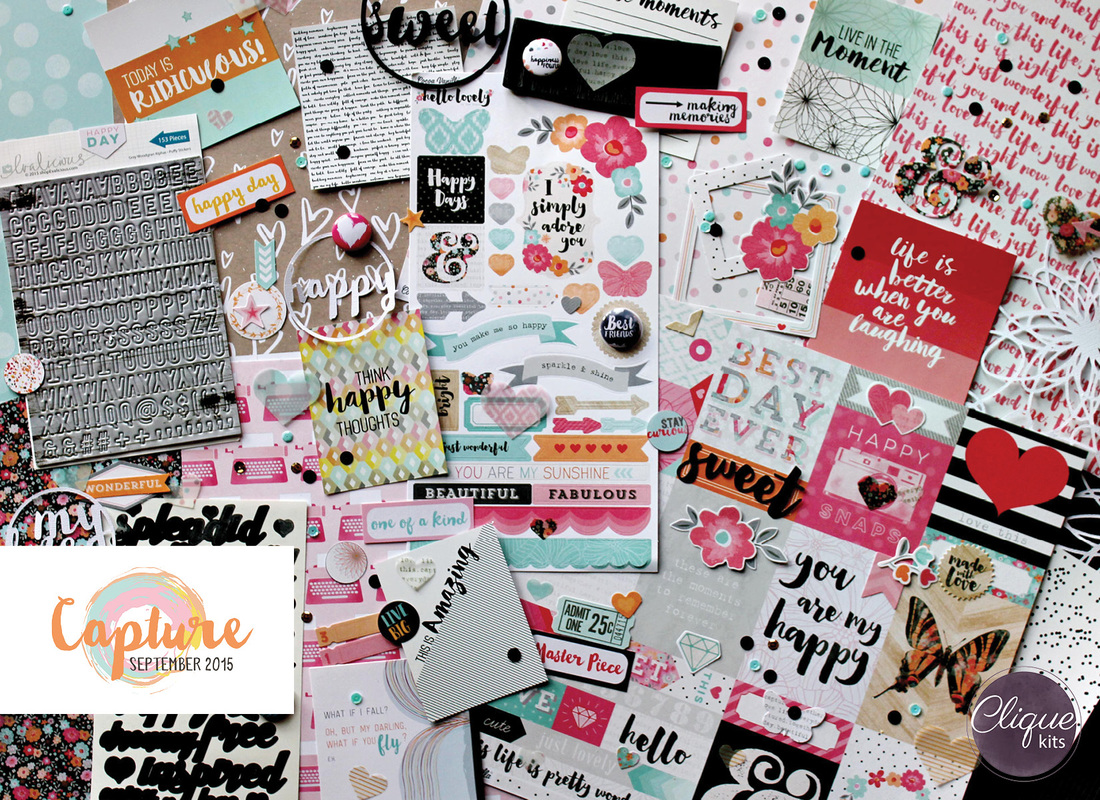
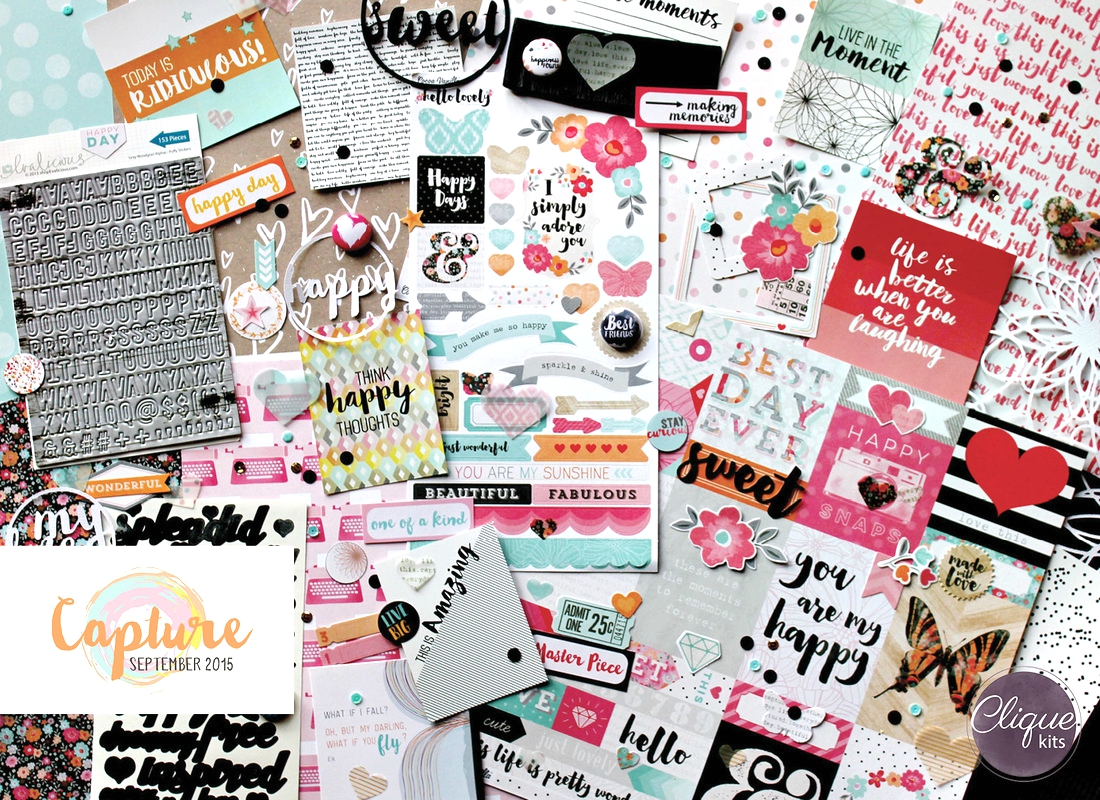
All materials can be found in the September Capture Kit:
Thanks so much for dropping by and hope some of the tips help! We would really love to see your creations! Please hashtag cliquekits on Instagram or tag us on Facebook! Till my next update, take care and God Bless!


.jpg)