Image Map

Japan 2015 Documented!

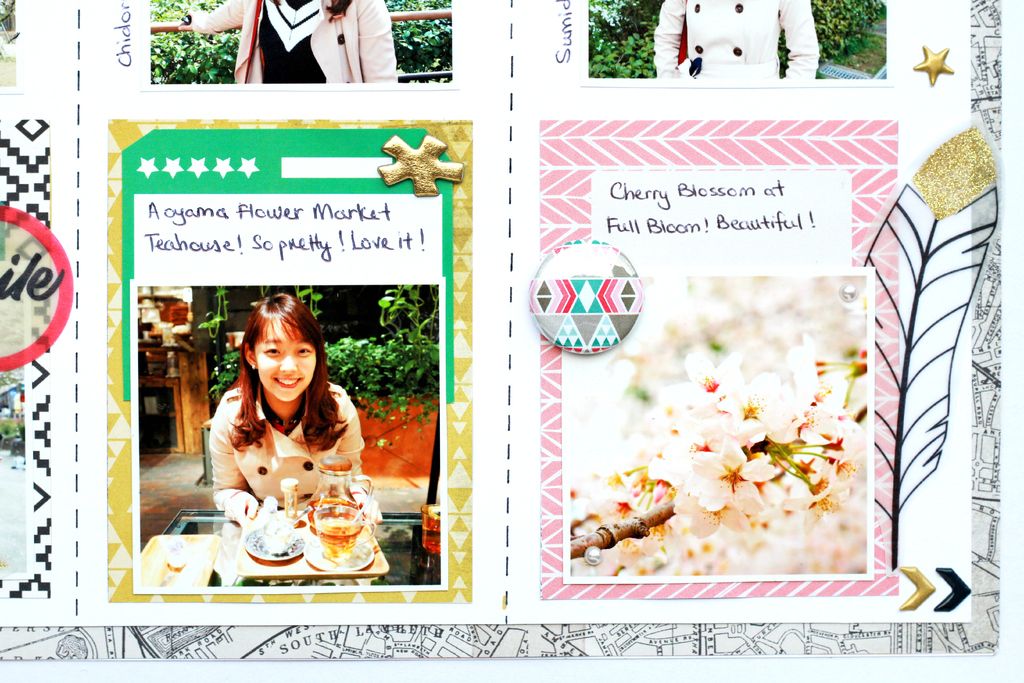
Hello everyone! I am back today to share a layout I did using the June Kit filled with Crate Paper products!I really like playing with the grid style to add more photos and not make it appear too cluttered! 
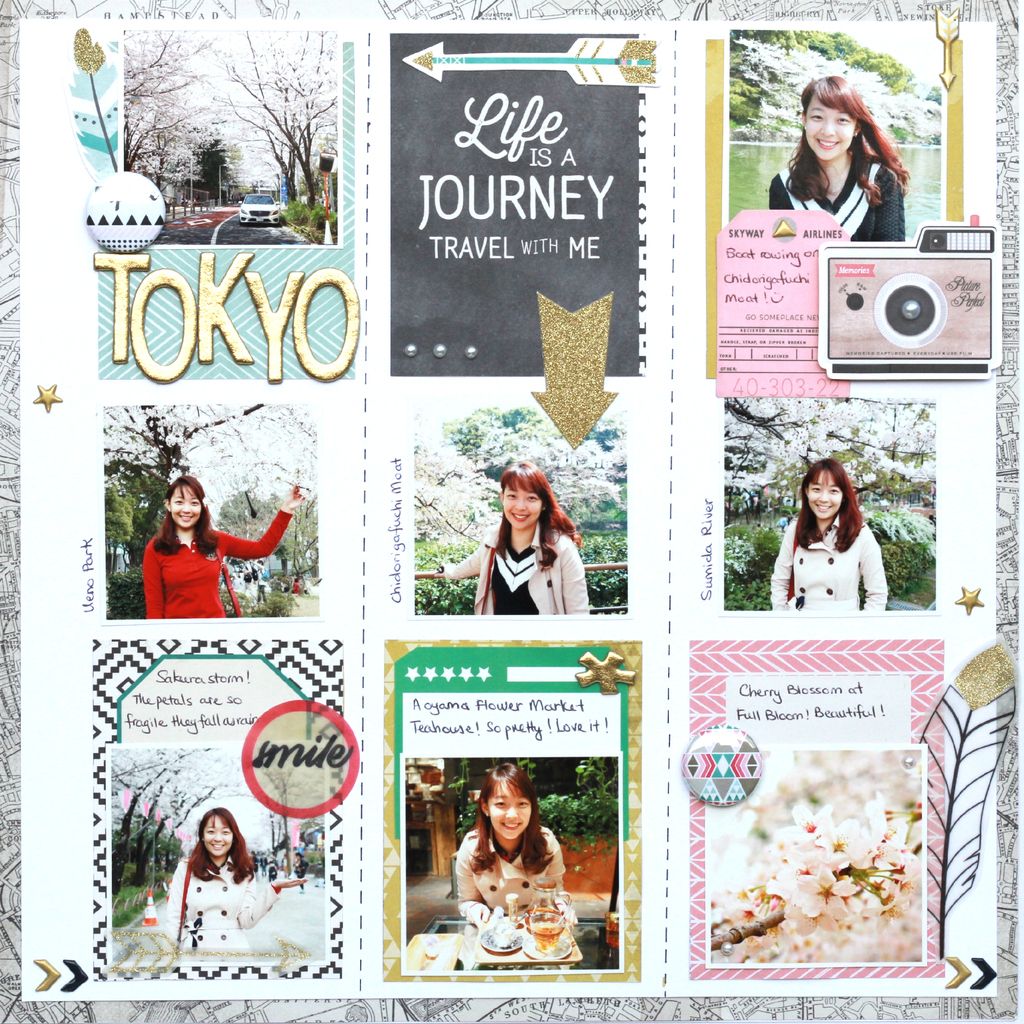
 photo IMG_4320_zpsmty7xjte.jpg
First, I used a black pen to add stitched lines to my card stock. Then using Crate Paper's Allons patterned paper, I cut 6 3x4" patterned cards and added them as such. To make it look neat, it's important to have patterned papers and photos of the same size. Next step would just be layering with embellishments and journaling! 
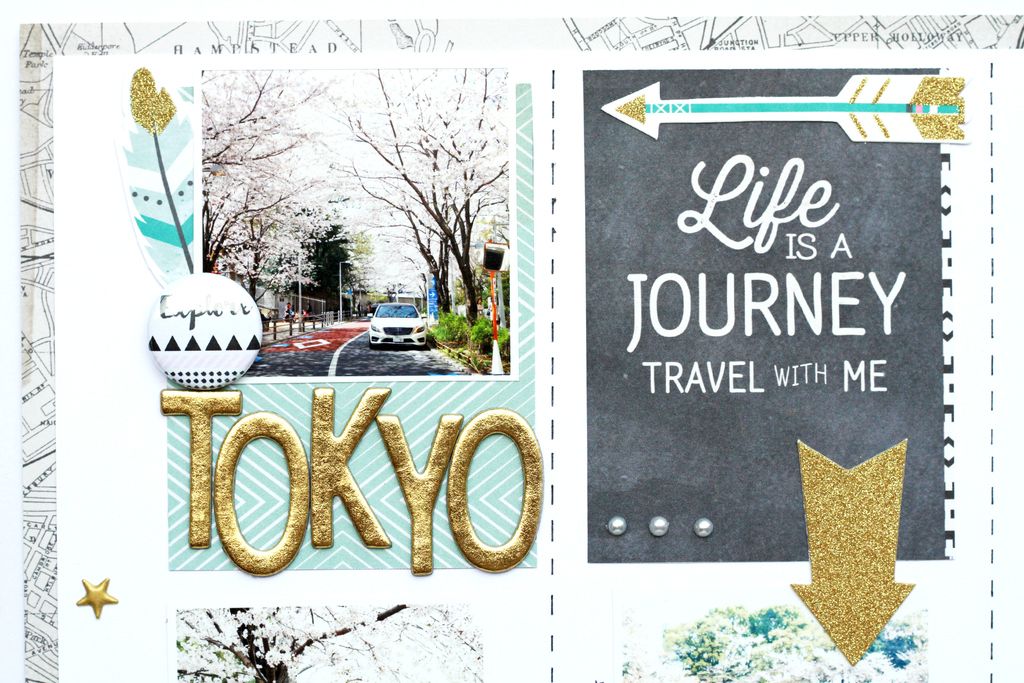
 photo IMG_4326_zpsngzkmhcl.jpg

 photo IMG_4328_zpsv1aganv3.jpg
Thanks so much for dropping by! Till my next update, take care and God Bless!:D 

Pink Fresh Studio June Blog Hop!


Hello from sunny Singapore! Welcome to the Pink Fresh Studio June Embellishment Kit Release blog hop. You should be arriving to my blog from Amanda's blog. If you just stumbled across my blog and want to see some inspiration from my fellow design team, please start at the Pink Fresh Studio blog.

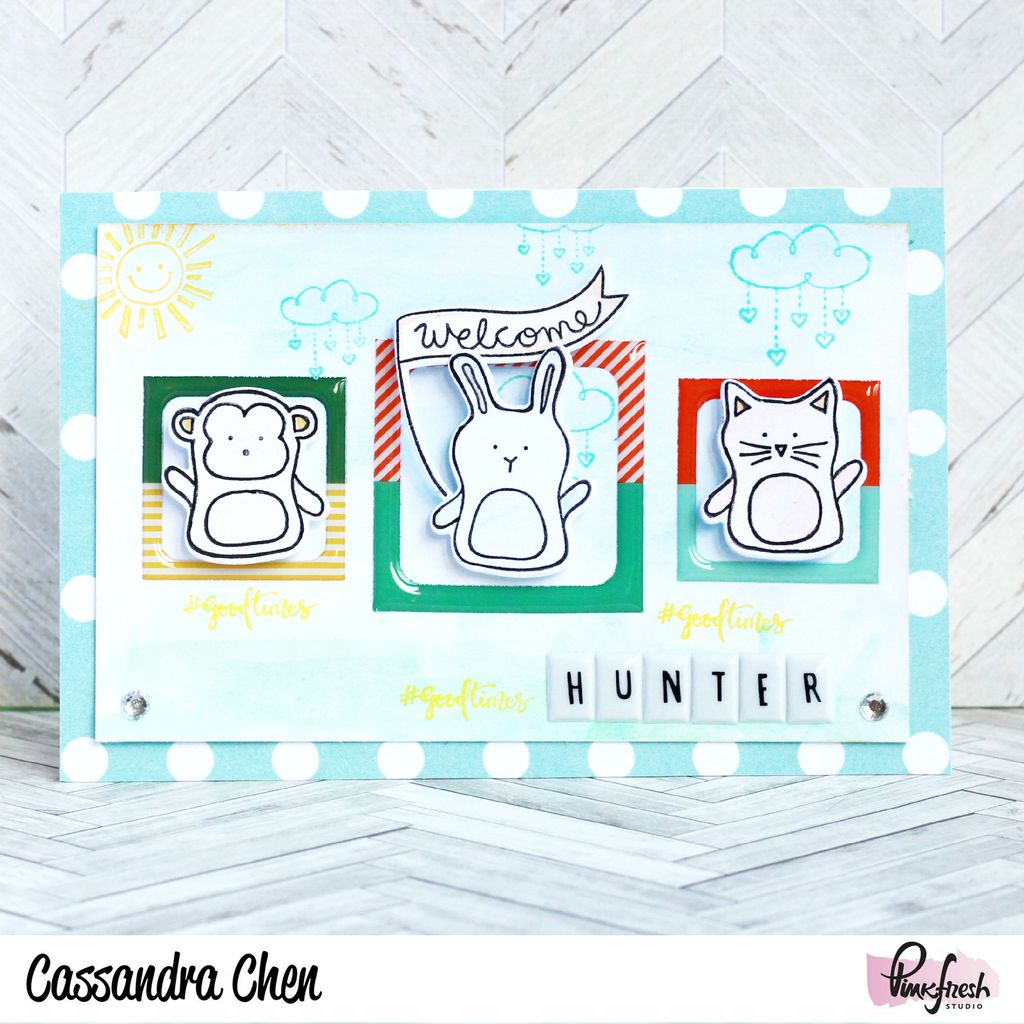
Here's my take on the June Embellishment Kit! Love it to bits!!
 photo Hunter card_zpse738caz6.jpg
This baby shower card was first created by water colouring the background blue and stamping with PFS clear stamp! Then I added the epoxy frames to create interest to my characters! Finally topping it up with some puffy stickers from the previous kit!:D

Supplies used:
Next up, hop over to Christin Gronnslett's blog for more inspiration! Thanks so much for hopping with us today and be sure to like Pink Fresh Studio on Facebook and Instagram, and comment on their blog for a chance to win the June kit! Thanks so much for dropping by! Take care and God Bless!:D
  photo simply-sig_zpscc0a663a.jpg
 photo fb_zpsdef78796.jpg    photo insta_zps15a36000.jpg    photo pinterest_zpsa4f864e4.jpg    photo mail_zps2667dbe9.jpg

DIY Magnetic Album Tutorial

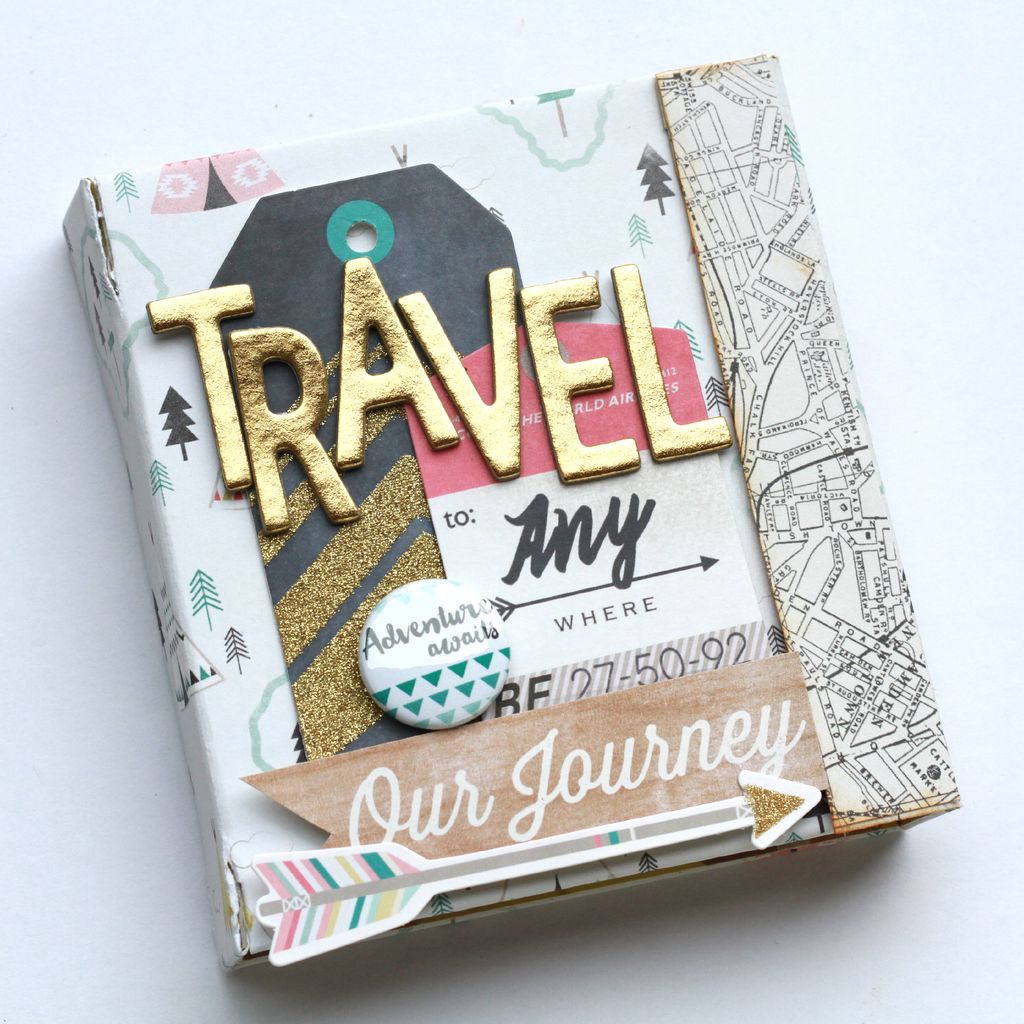
Hello everyone! Cassandra here today to share a short tutorial on how to make a DIY magnetic album using the June Kit filled with Crate Paper products!
 photo IMG_4368_zpscuyasmcm.jpg
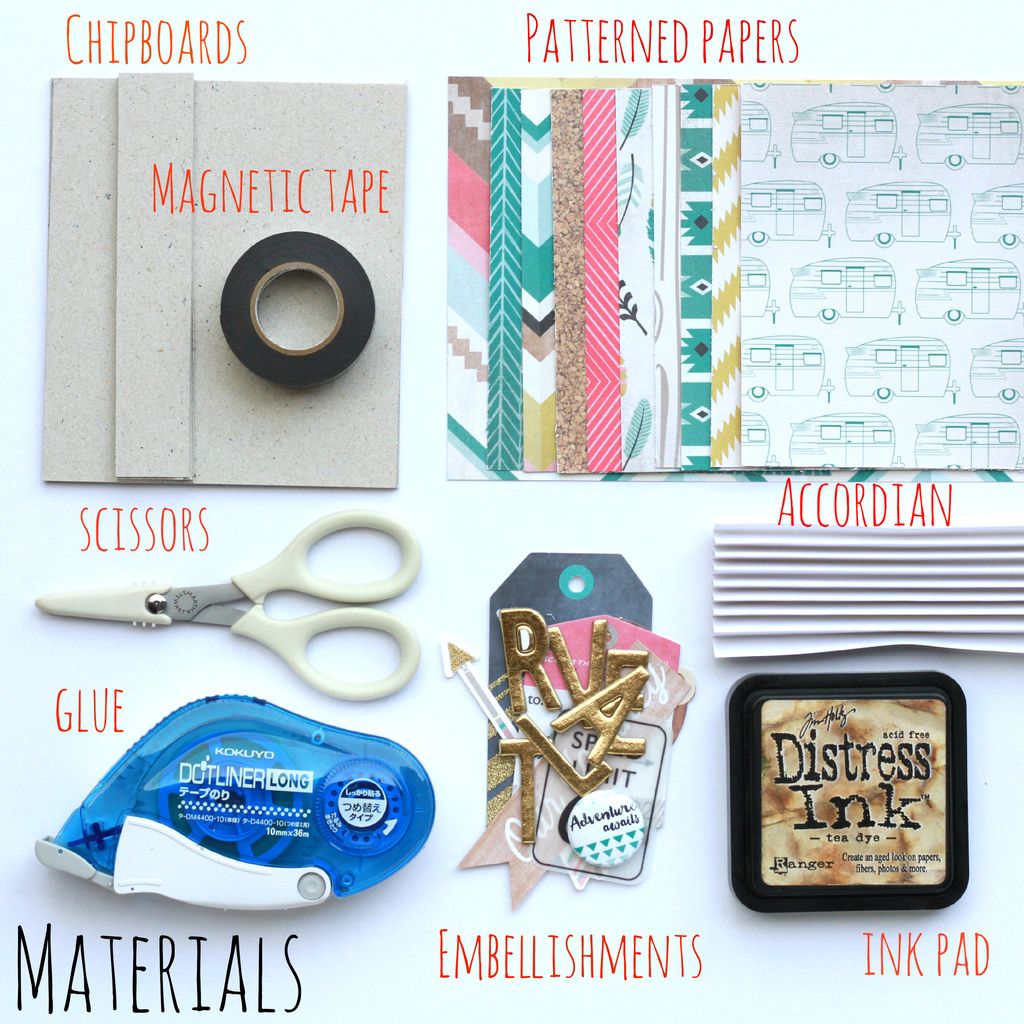
These are the materials you need:  photo IMG_4357_zpsf5rhsw6x.jpg
I found the magnetic tape at my local craft store in Singapore but any similar magnetic products will work fine too! photo IMG_4359_zpsdn2ad7ma.jpg
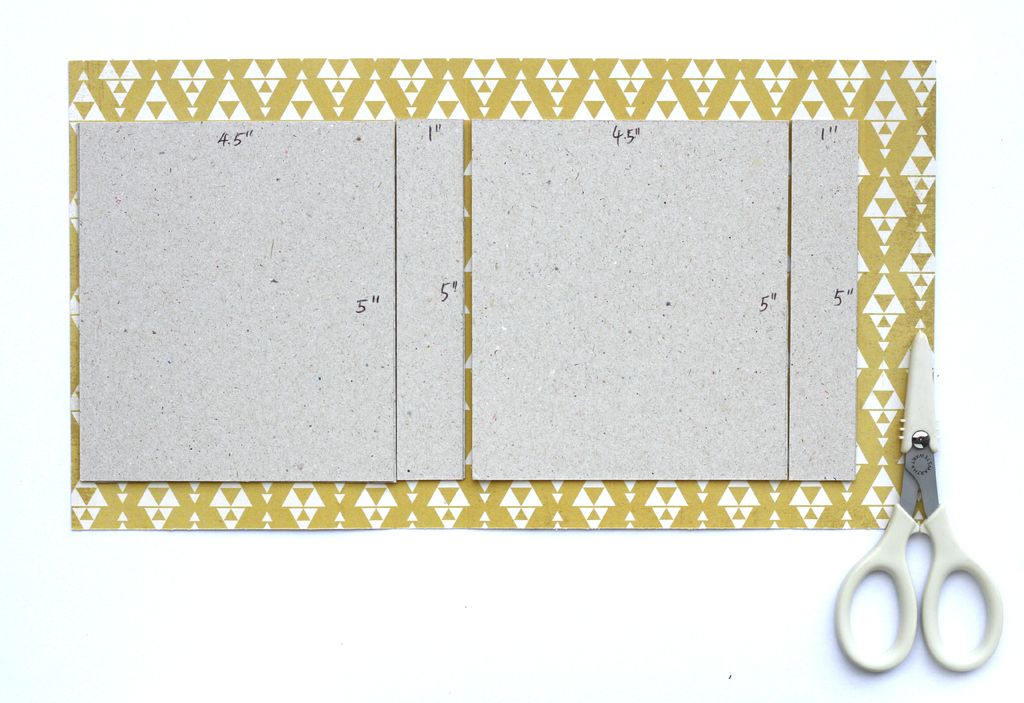
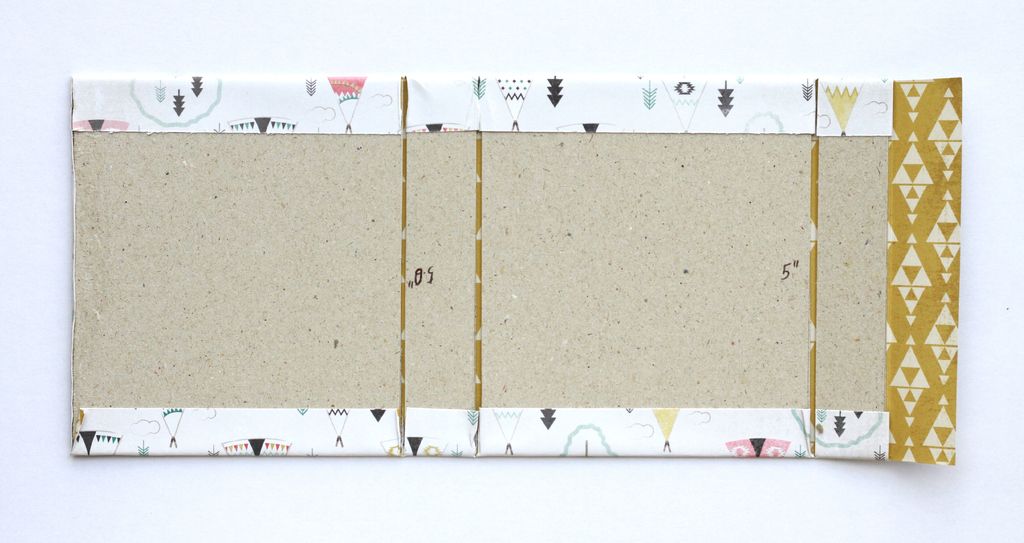
Cut out the cardboard using the measurements as shown above.  Then fold it inwards and glue it down. You may cut the patterned papers at each fold till the start of the cardboard to facilitate folding and glueing it down.  photo IMG_4360_zpsmlx4dfqx.jpg
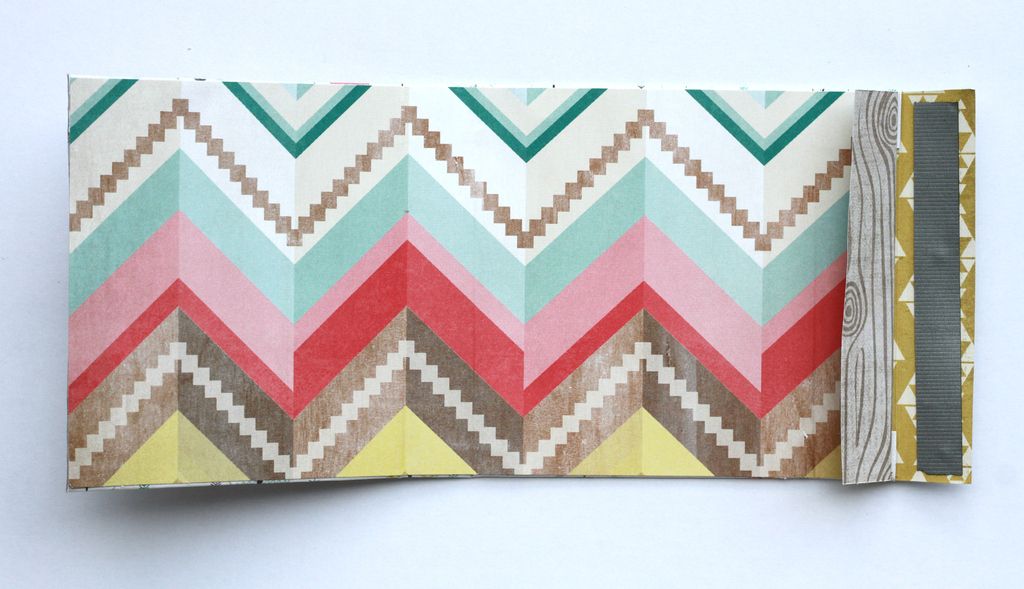
Then use another patterned paper and glue it down. Add the magnetic strip at the last 1" and glue it down to the other patterned paper. photo IMG_4361_zps4sjha2tq.jpg
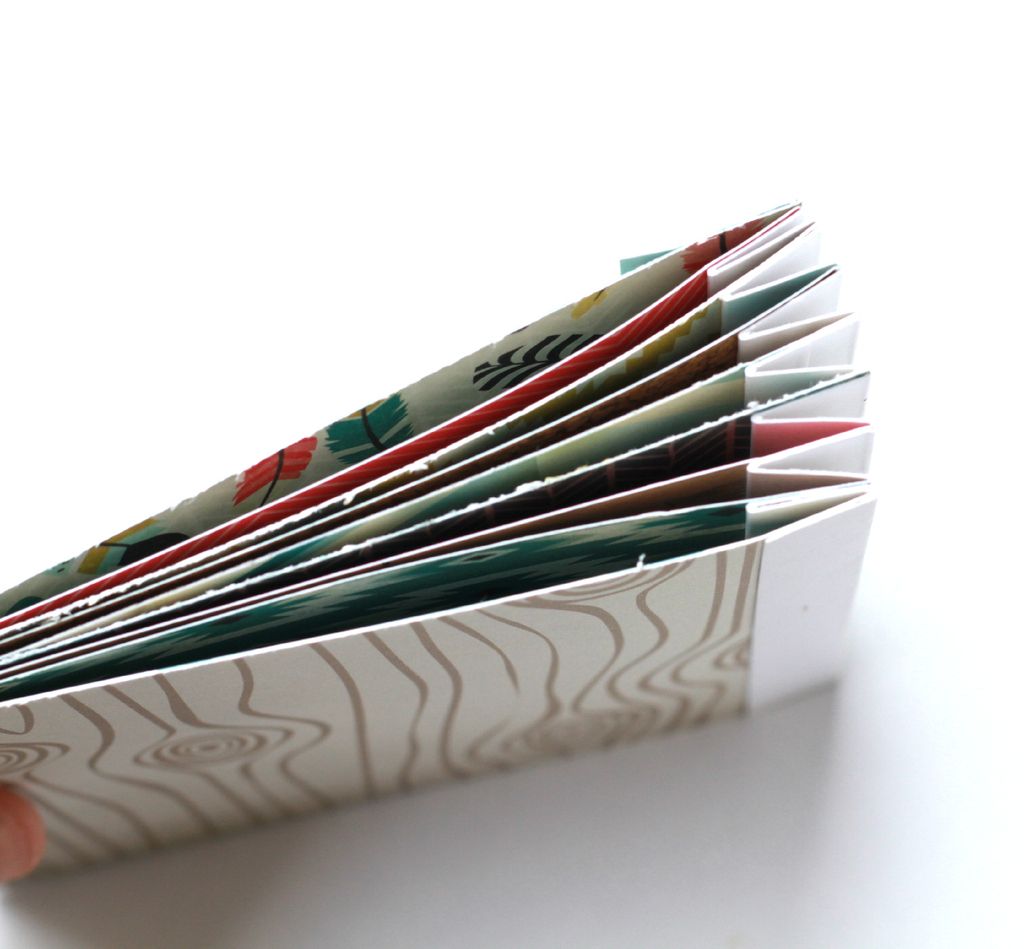
Make the accordion by folding it at 0.5" marking and cut out patterned papers of 4.5"x5" and slot them into the accordion and glue them down. This will form the inner part of the album. photo IMG_4362_zps3vftjulf.jpg
Then glue it down on the album and embellishment it with lotsa yummy goodies from Crate's Journey collection!:D The magnetic strip will hold your album tightly together! Oops if you have already noticed, the sides of the album are slightly torn as I pulled the patterned paper too hard and tight when bending the album. Alternatively, to prevent something like this from happening, reduce the 1" cardboard slightly to about 0.8". That would give it some flexibility from long term handling of the album! Hope it helps! photo IMG_4368_zpscuyasmcm.jpg

Thanks for dropping by! Hope you like this project as much as I have enjoyed making it! Till my next update, take care and God Bless!:D 
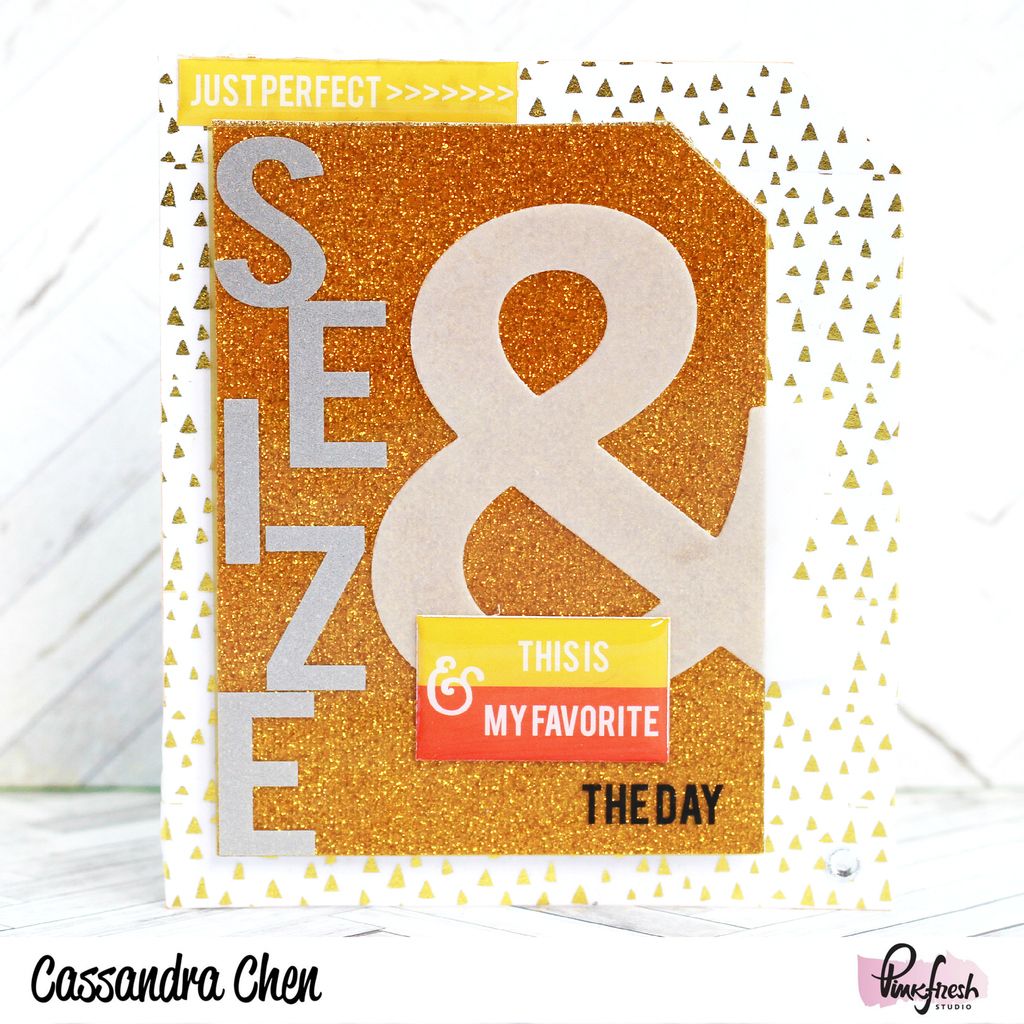
Seize the Day!

Heyyie all! I am back to share a project with the Pink Fresh Studio June Embellishment kit! Once again, it's stocked with amazing goodies!
 photo Seize the day_zpsfhtlhmzw.jpg
This background is not a patterned paper but was created using the triangle foil washi tape in the kit! Super love the results! And check out the acetate cards! I added gold glittered card stock at the back to enhance the bling effect :P 

Thanks for dropping by and hope you have enjoyed the project! Till my next update, take care and God Bless!
 photo simply-sig_zpscc0a663a.jpg
 photo fb_zpsdef78796.jpg    photo insta_zps15a36000.jpg    photo pinterest_zpsa4f864e4.jpg    photo mail_zps2667dbe9.jpg

Japan Aerospace Exploration Agency

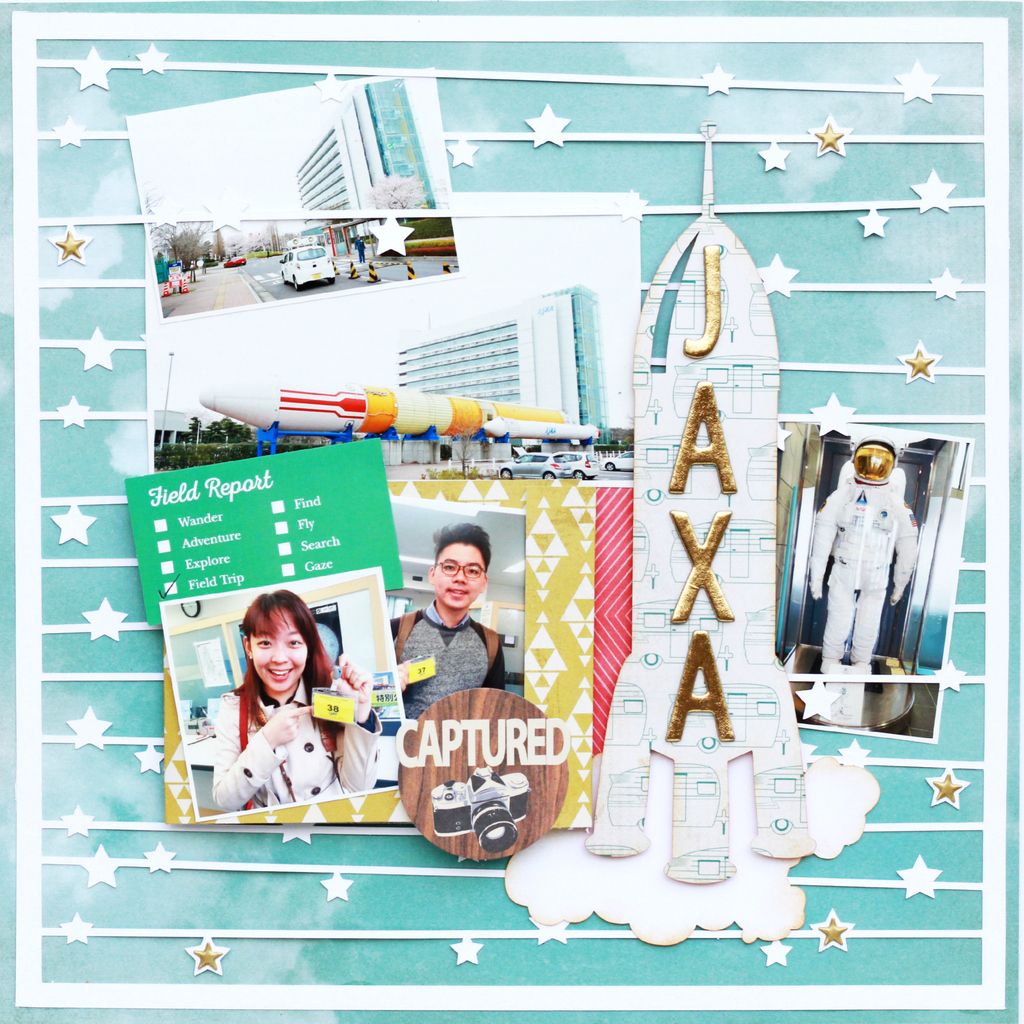
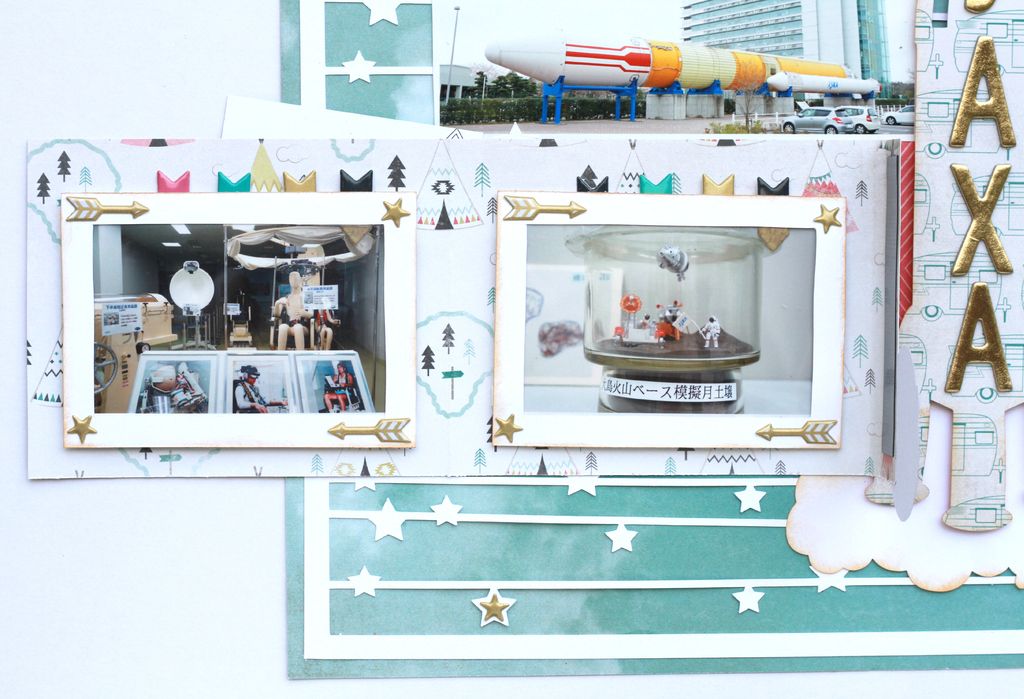
Hello everyone! I am back today to share a layout I did using the June Kit filled with Crate Paper products! This background of my layout was made using one of the cut files on Silhouette Cameo. Have you ever had the problem of your cameo not cutting properly or not too sure which settings to go for?  

After many trials and errors, I figured out to get a perfect cut, you need to first have a smooth cardstock to reduce any possible resistance from the surface. I like to choose 250gsm smooth cardstock so that it won't be too flimsy as an embellishment. Then, I like to choose blade 5 (but that would depend entirely on how frequent you use the Cameo) for a nice cut. Hope these few tips helped! Please also share with me some of your other Cameo tips!


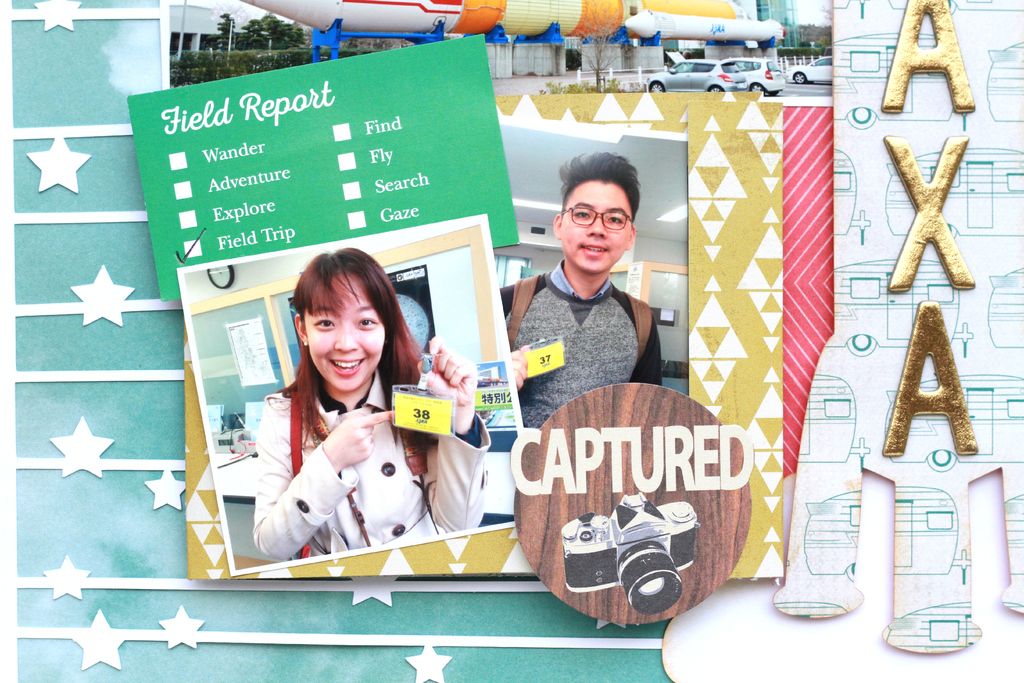
So happy I had the opportunity to tour around Japan's equivalent of NASA training facilities!:D Learnt a lot as well!
 photo IMG_4337_zpsmwnuzgcy.jpg

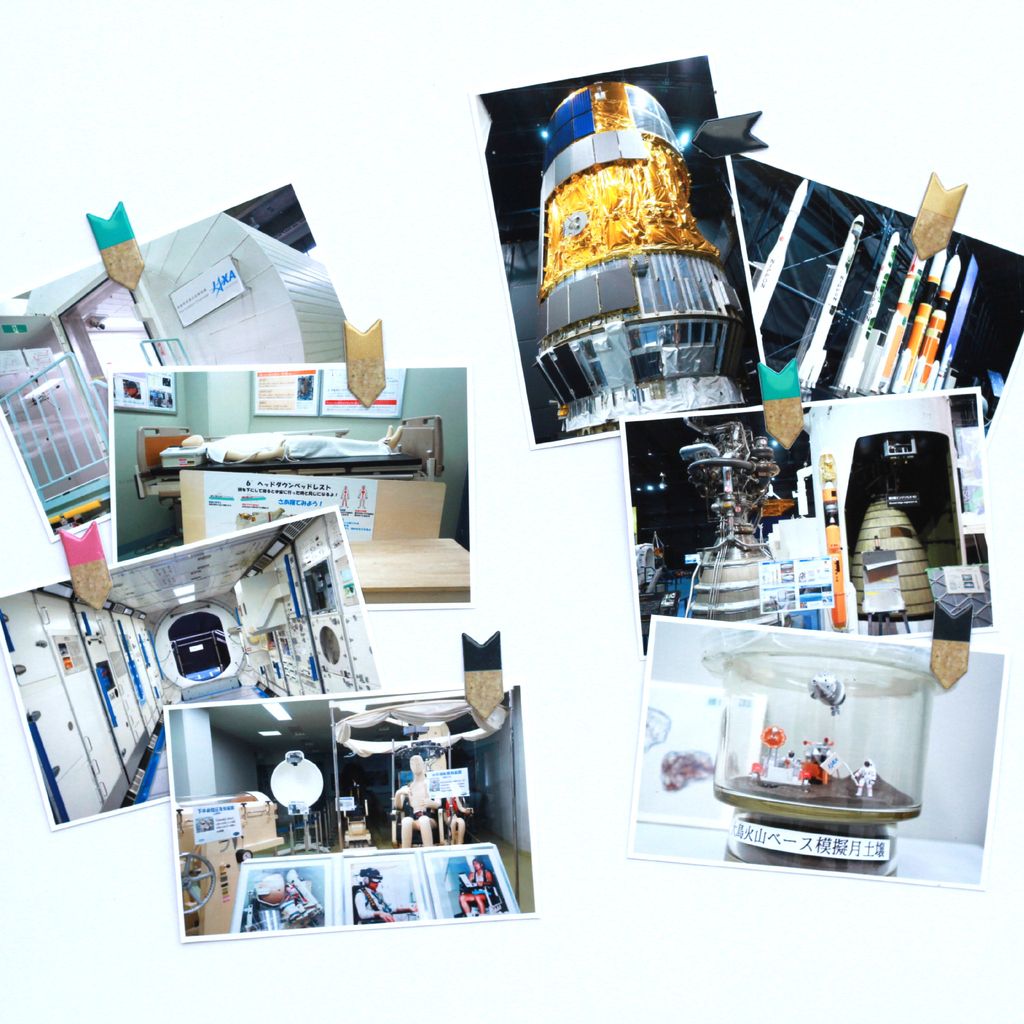
As there were simply too many photos to scrap with, I made an album to keep the extra photos!
 photo IMG_4341_zpsxomdoyes.jpg

And I added magnetic tape for my album cover and it closes tightly together! Awesome!
 photo IMG_4342_zps7pw3kjql.jpg

 photo IMG_4344_zpswa7uvrmp.jpg
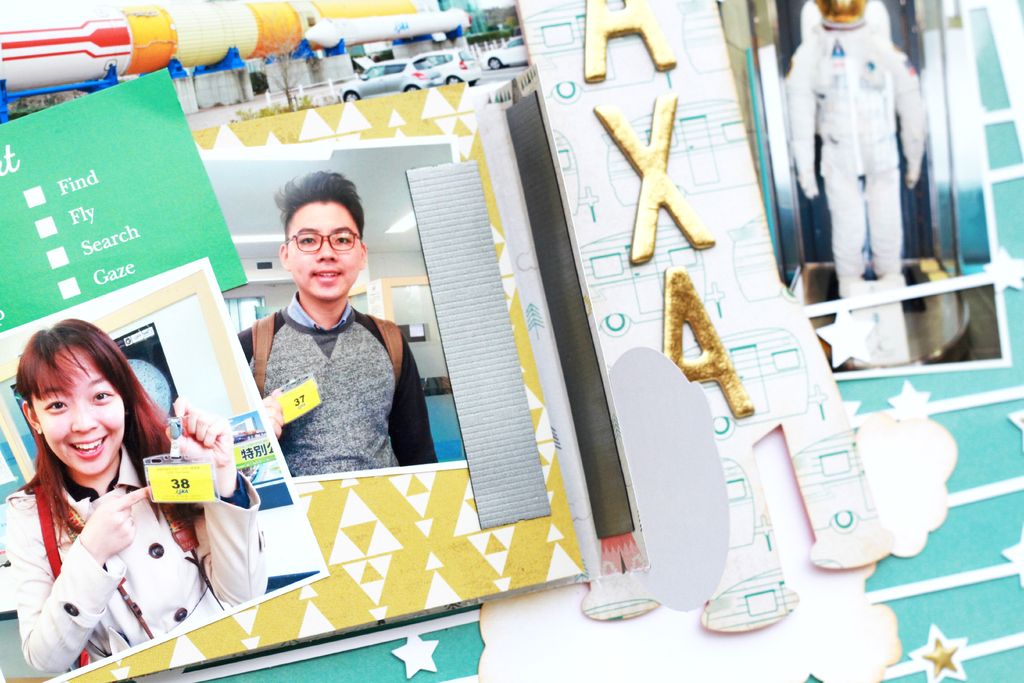
I added arrow tabs from the Crate Paper collection so I can pull out the tabs easily and added journaling at the back side of the photos!
 photo IMG_4345_zpstlqbmiui.jpg
Thanks so much for dropping by! Till my next update, take care and God Bless!:D